
General
Clicking on theSwitch to Data Schema button in the top right corner of the Actions field opens the data schema view (returning is possible via clicking again on the same button). The dynamically calculated and continuously adapted data schema is now displayed in the central tab.
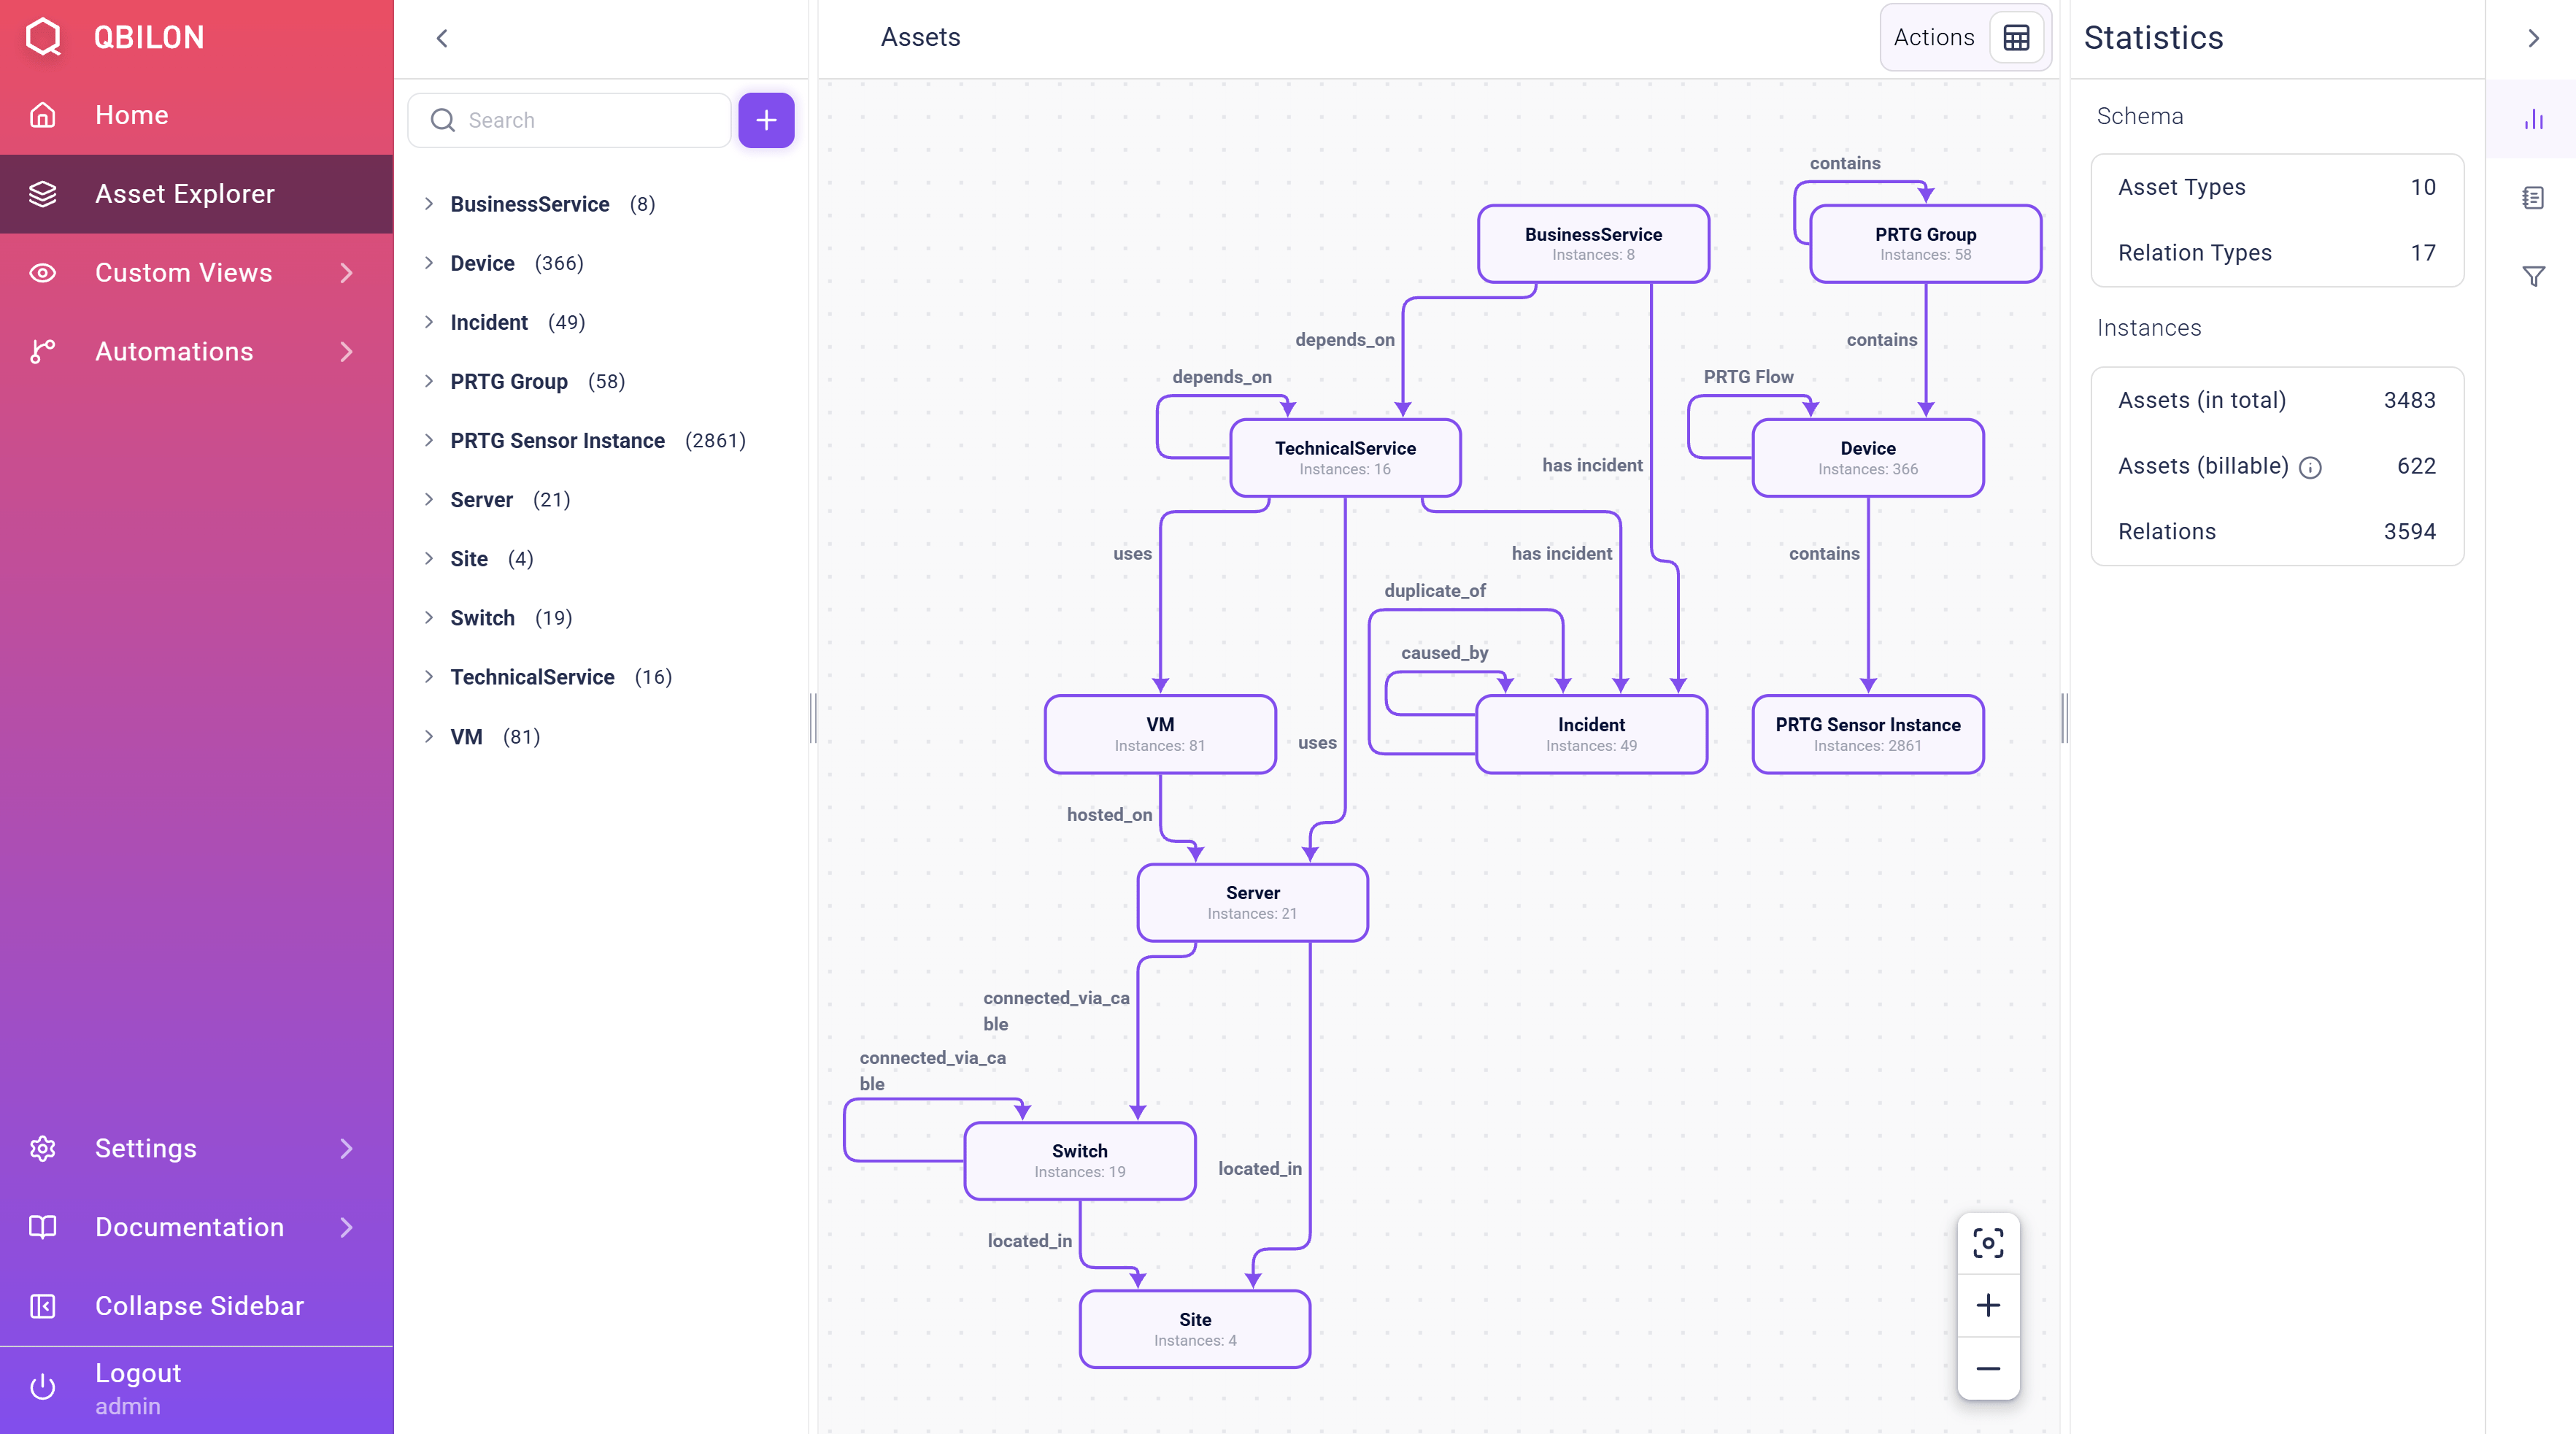
Data Schema view within the “Asset Explorer”.
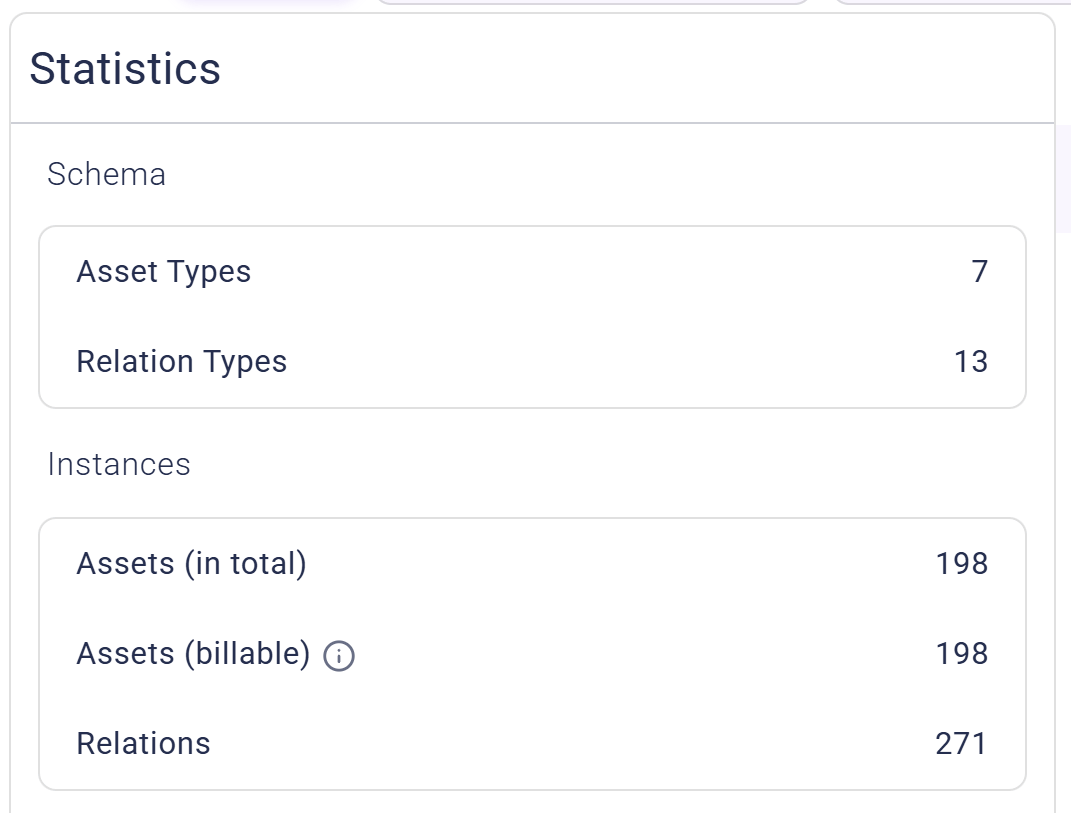
On the right side, statistics for the captured IT data is shown:
Asset Typesrepresents the number of different “asset/element categories”, e.g., “Azure SQL Server”, “Database” or “Virtual Machine”,Relation Typesindicates the number of different “relation categories”, e.g., “contains”, “secured by” or “responsible for”,Asset (in total)is the total number of asset instances (across all asset types) that do not effect the asset quota of the license andAsset (billable)is the total number of asset instances (across all asset types) that are relevant for the asset quota of the license,Relationsis the total number of relation instances across all relation types.
Toolbar Actions
On the top of the data schema page, the toolbar allows …- manually triggering the layouting of the data schema diagram view,
- changing the diagram layout (
Hierarchic,OrganicandOrthogonal) and - adding asset/relation types (if the
Edit Modeis activated), - toggling the
Edit Mode, - searching for specific data schema assets.

- The
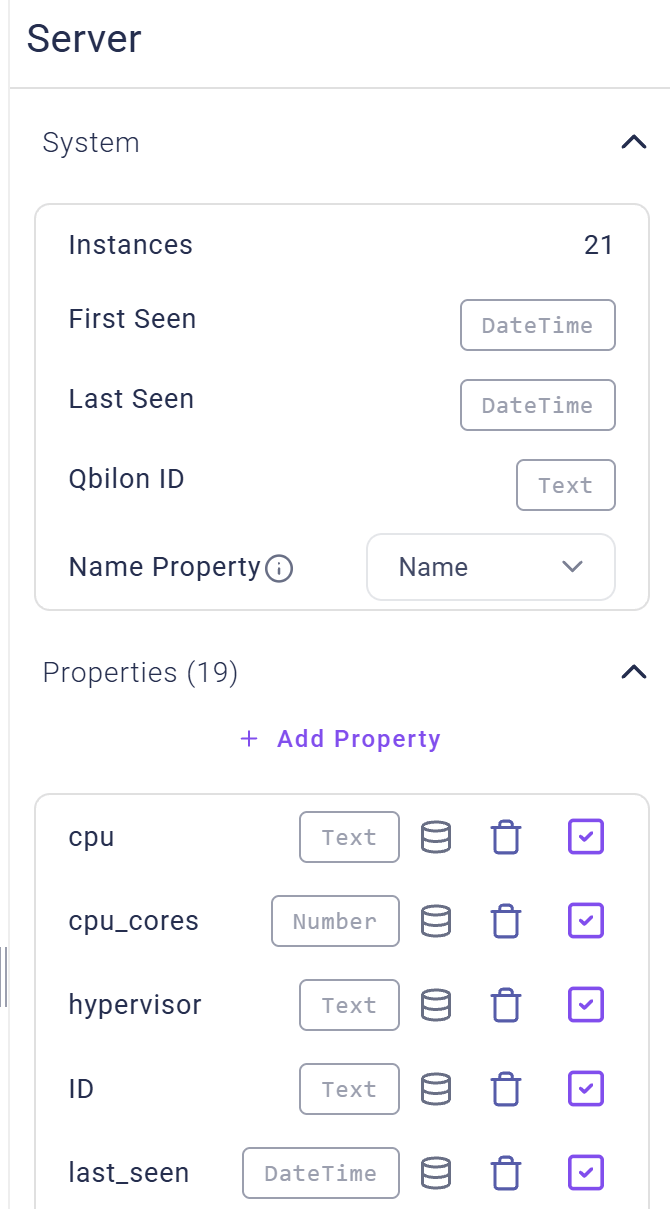
Systemarea shows …Instances→ count of asset/relation “occurrences”First Seen/Last Seen→ time when the asset/relation was first and last captured or updatedQbilon ID→ internal unique identifier of this asset/relation typeName Property→ the property selected as “main label” for this asset/relation type
- The
Propertiesarea lists all property types showing their …- name,
- type (e.g.
Text,DateTimeorNumber), - originating data source (details shown when hovering over the server icon) and
- two action buttons for deleting or showing/hiding them.
Editing – Deletion
Editing actions for the assets/relations types as a whole are shown in the top tool bar when an asset/relation type is clicked on.Deleting Properties
Deleting specific properties of assets or relations can be done via …- selecting the specific asset/relation type in the visual representation and
- clicking on the “trash icon” next to the property to be deleted in the details pane on the right side.
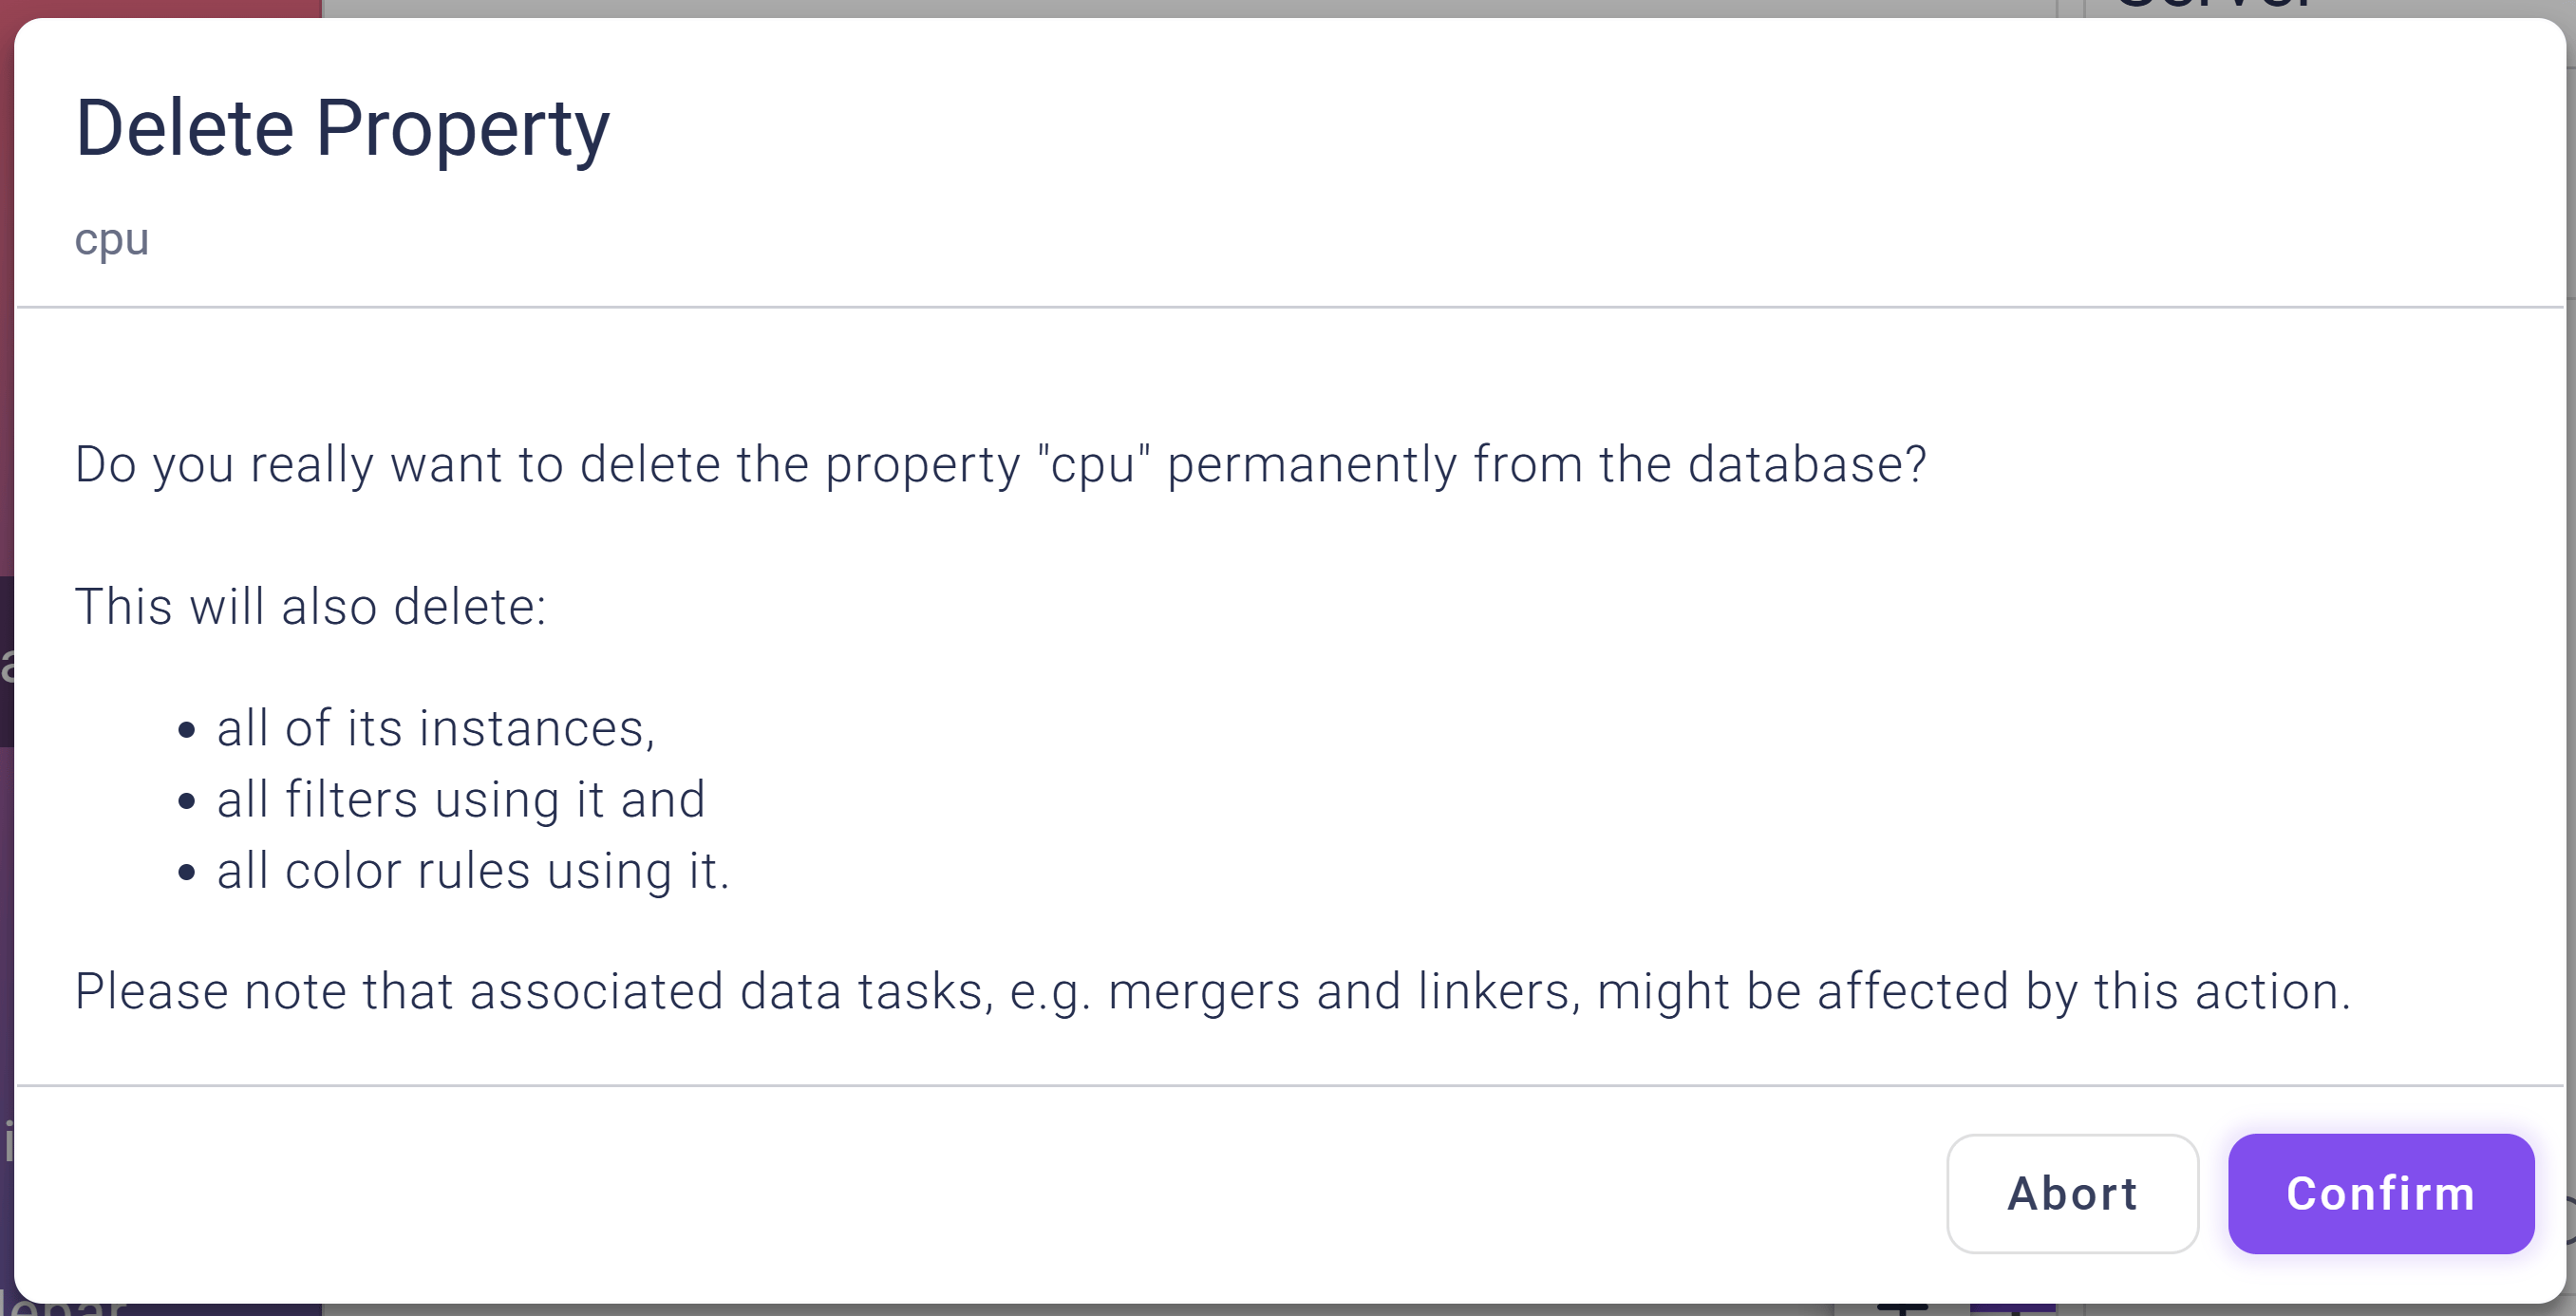
- all instances of this property,
- all filters using it in views and
- all analysis rules (coloring) using it in views.
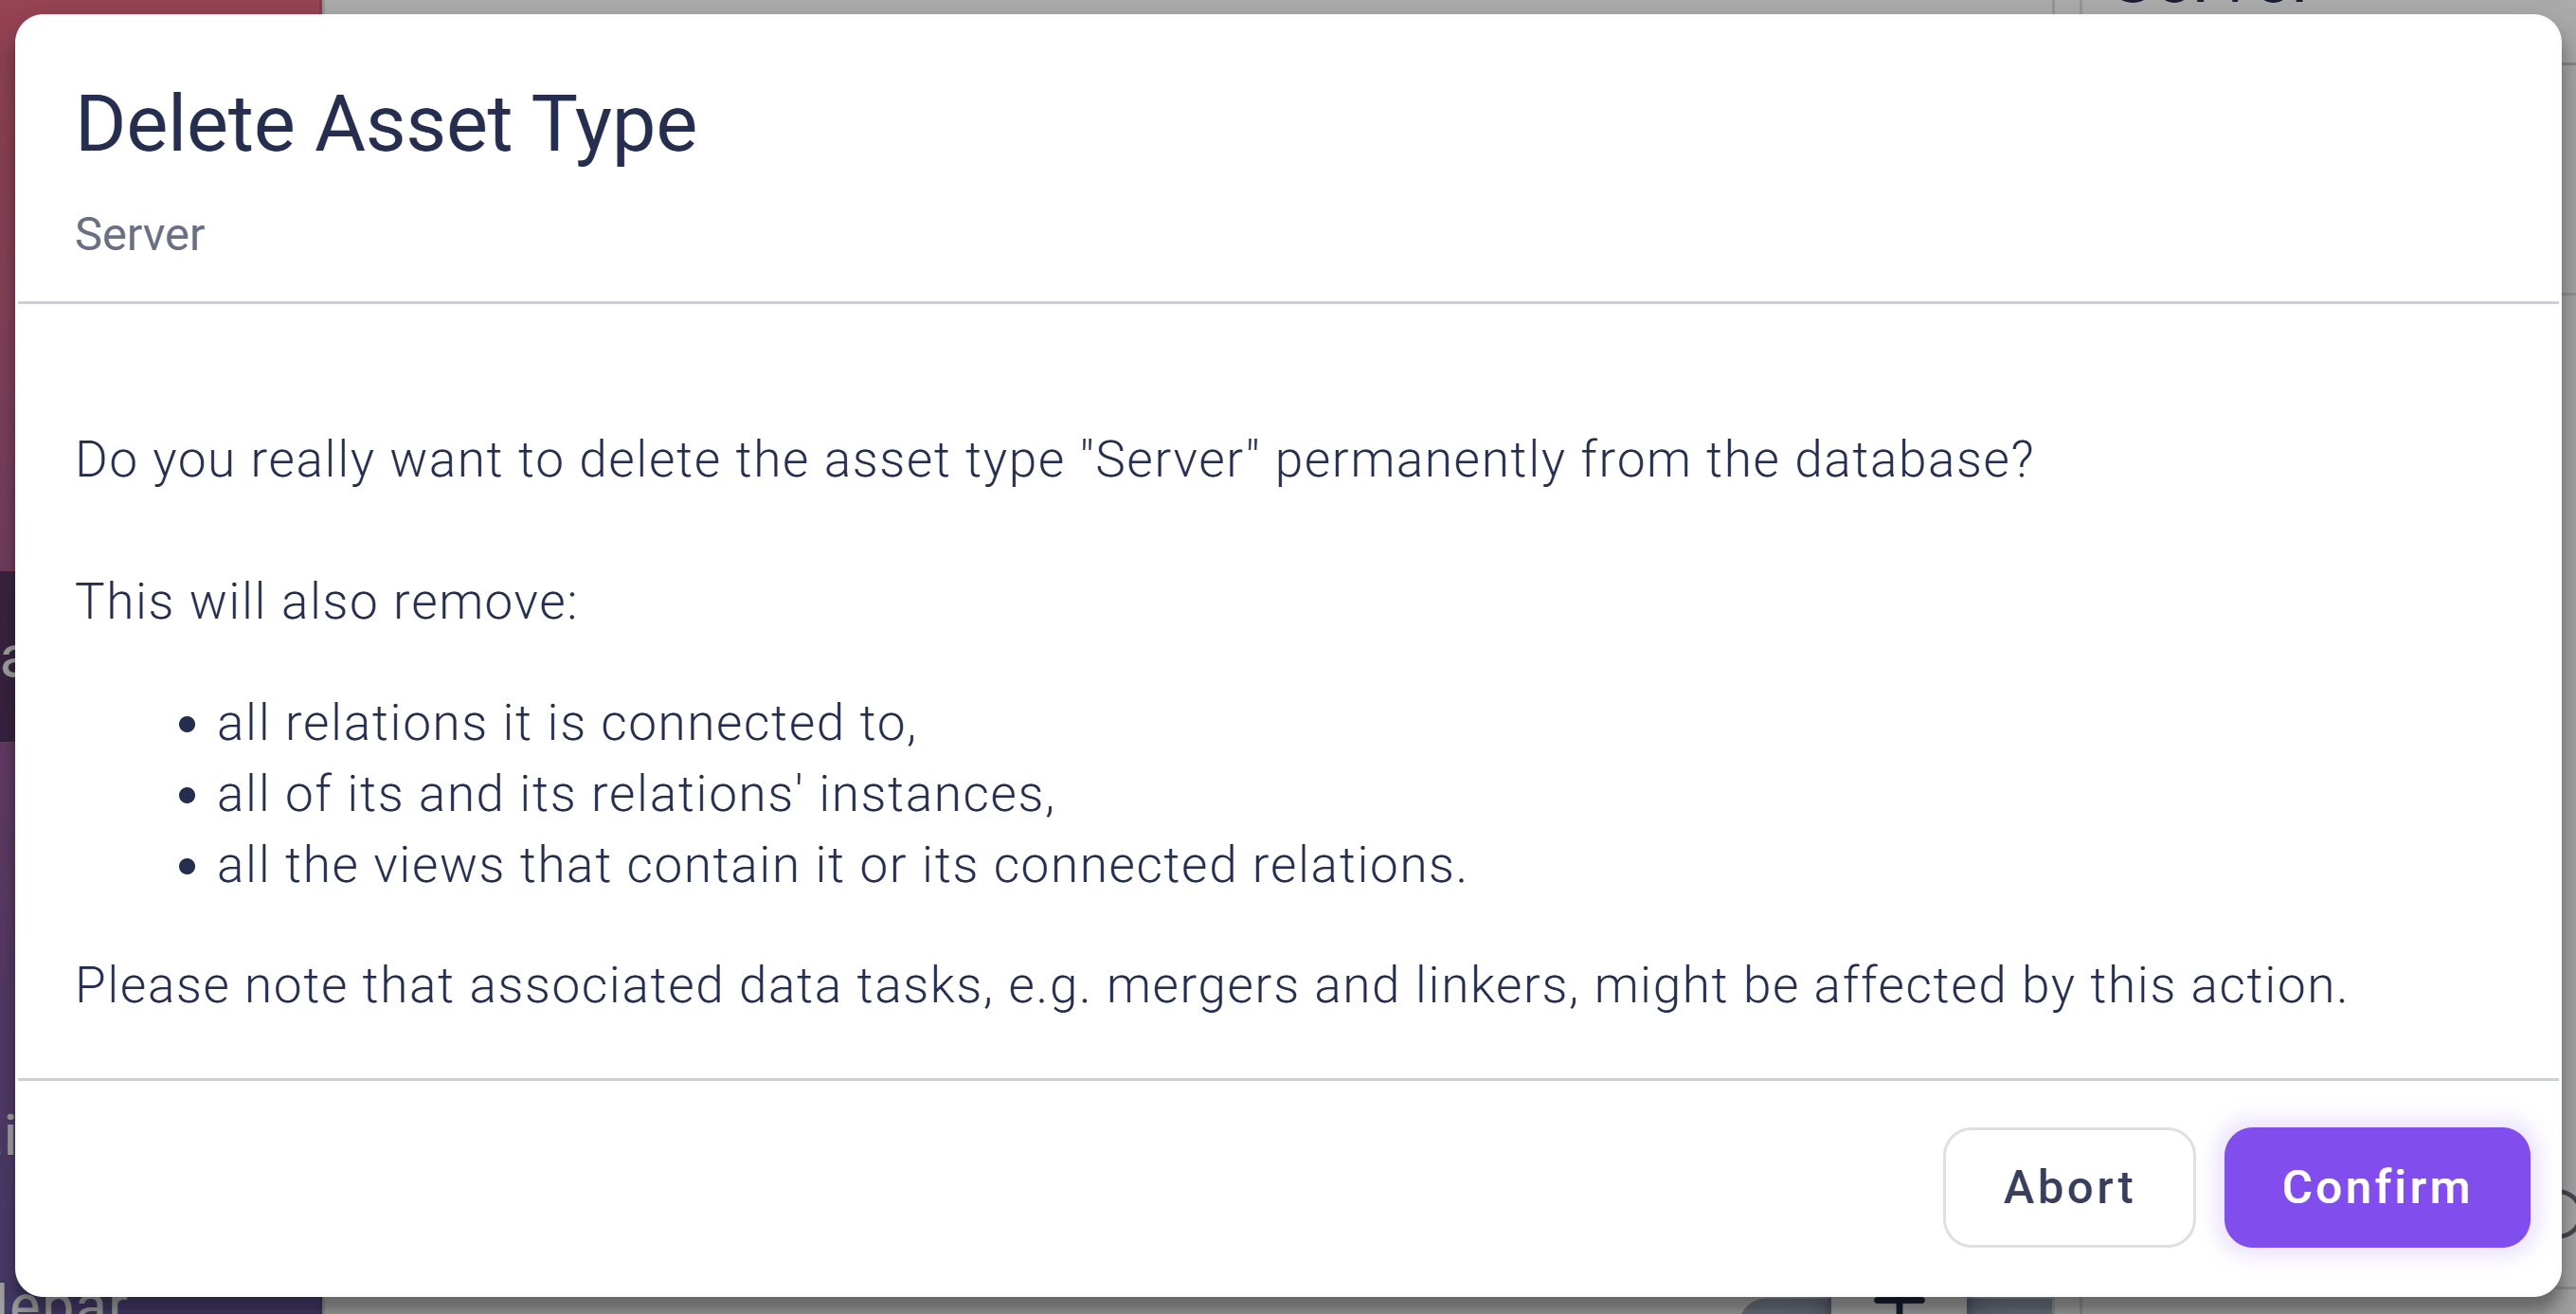
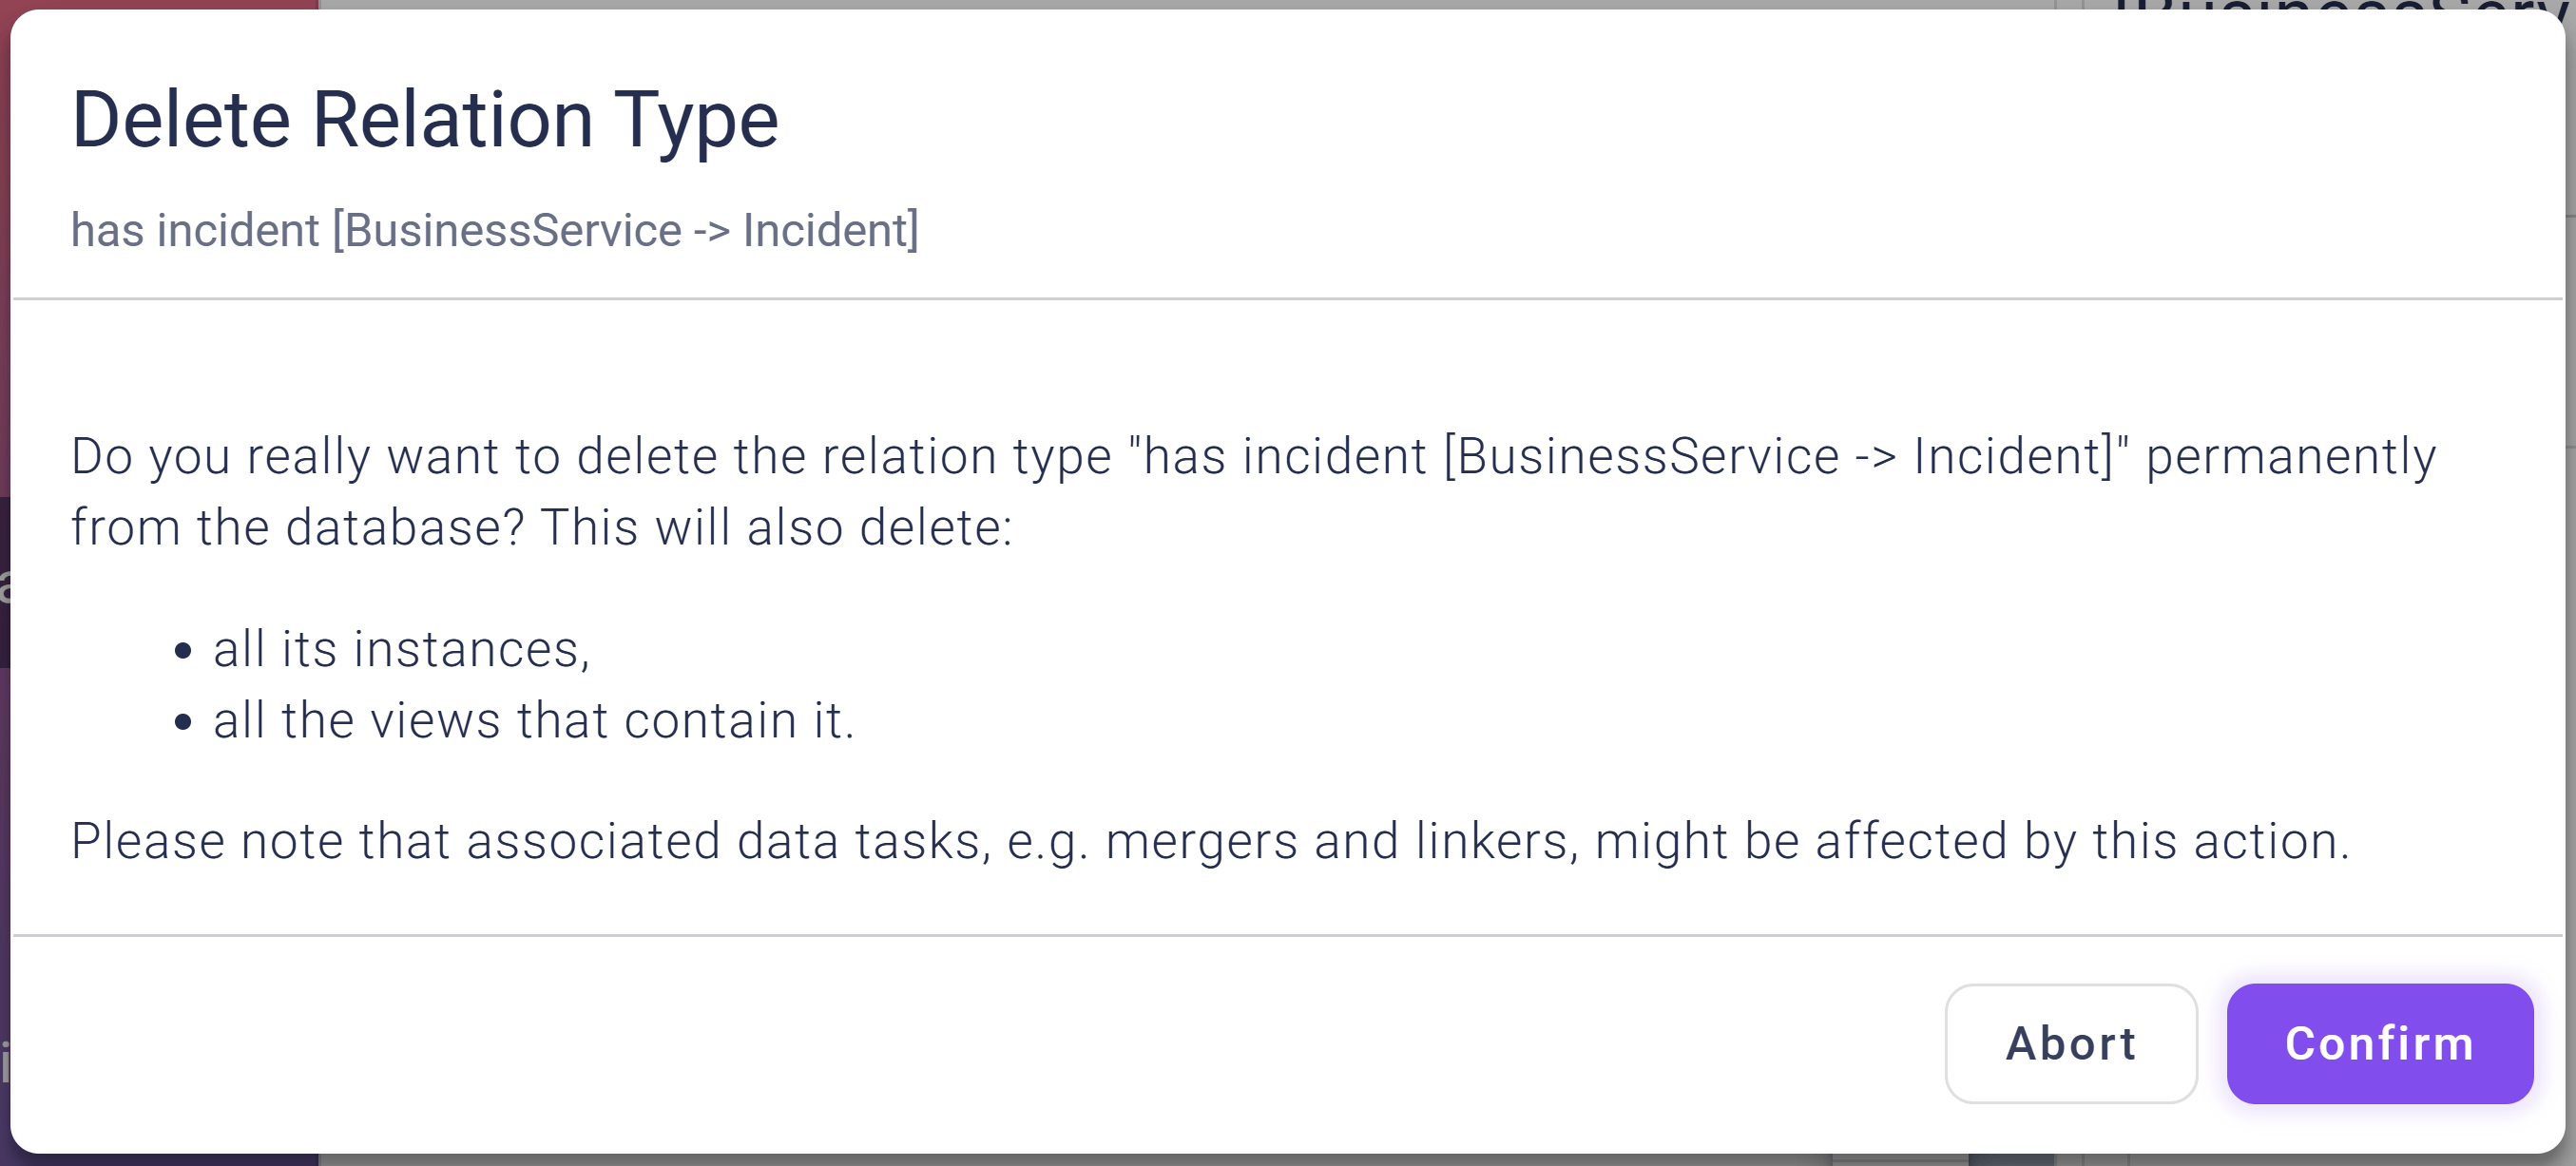
Deleting Asset/Relation Types
Deleting asset/relation types can be done via …- selecting the specific asset/relation type in the visual representation on the left side and
- clicking on the “trash icon” in the top toolbar.
- all relation (types) that are connected to this asset type,
- all instances of the type (in case of asset types also together with connected relation instances) and
- all views containing it.
Editing – Adding
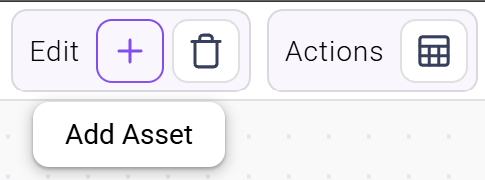
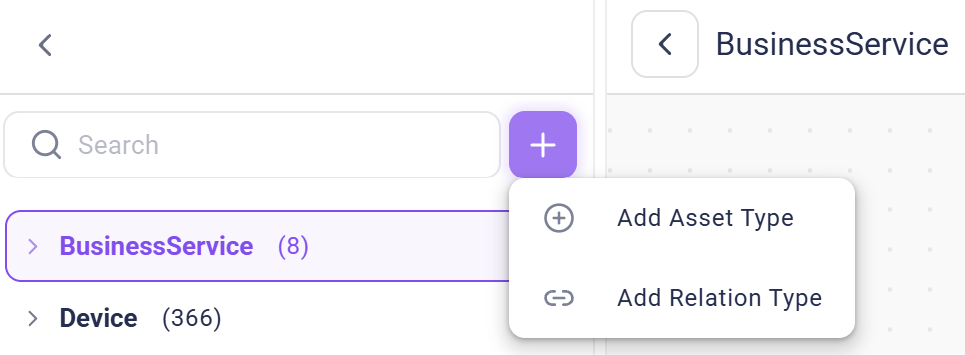
Editing actions for the assets/relations types as a whole are shown in the top tool bar when an asset/relation type is clicked on. By pressing the “+” icon in the top toolbar, new asset and relation instances can be created. New asset/relation types can be defined by clicking the ”+” icon next to the tree browser.
Adding Asset/Relation Instances
New instances of a specific asset or relation type can be easily created by selecting the type in the visual representation and clicking on the “+” icon in the top toolbar.
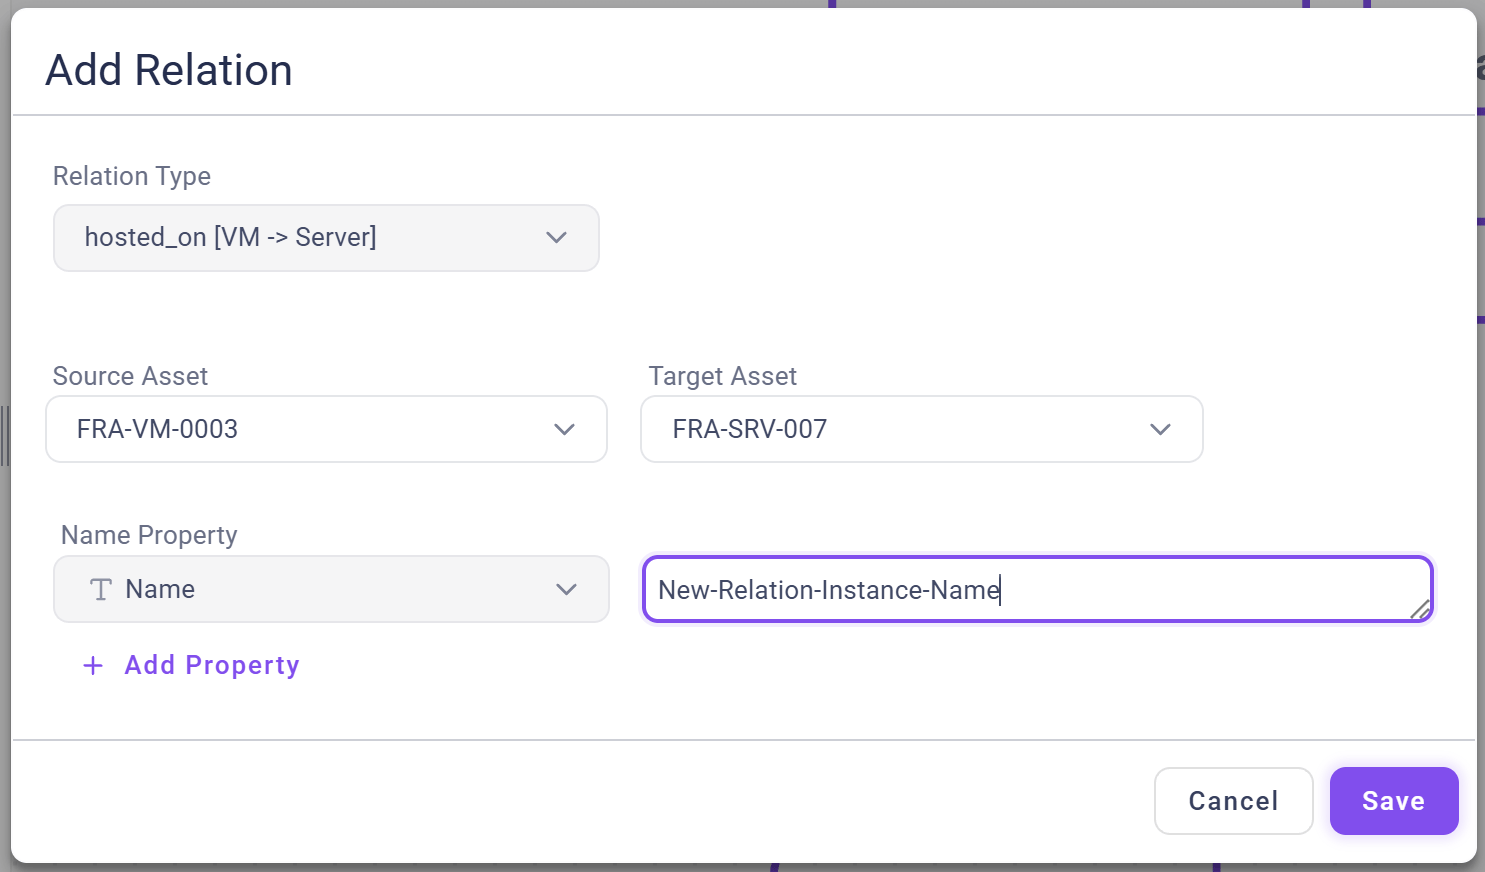
An Add Asset or Add Relation pop-up dialog will then appear, enabling the user to create new instances by providing a name and, in the case of relations, a specific source and target asset.
Adding Asset Types
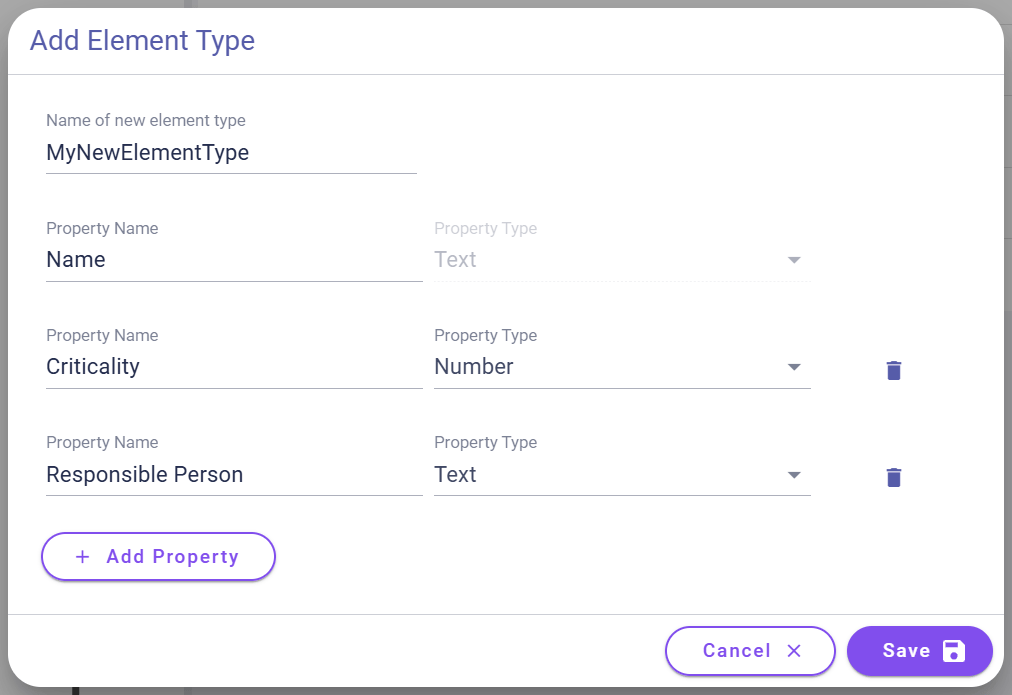
New asset types can be created by clicking the “+” icon next to the tree browser on the left panel and selecting Add Asset Type.
Within the Add Asset Type dialog, perform the following steps:
- Provide a name for the new asset type.
- Asset types must at least have one property – the
Property NamewithTextasProperty Type. - Via
+ Add Property, further properties can be added to the new asset type. - Clicking on
Savestores the new asset type and adds it to the data schema whileCancelwould discard any change made.
Adding Relation Types
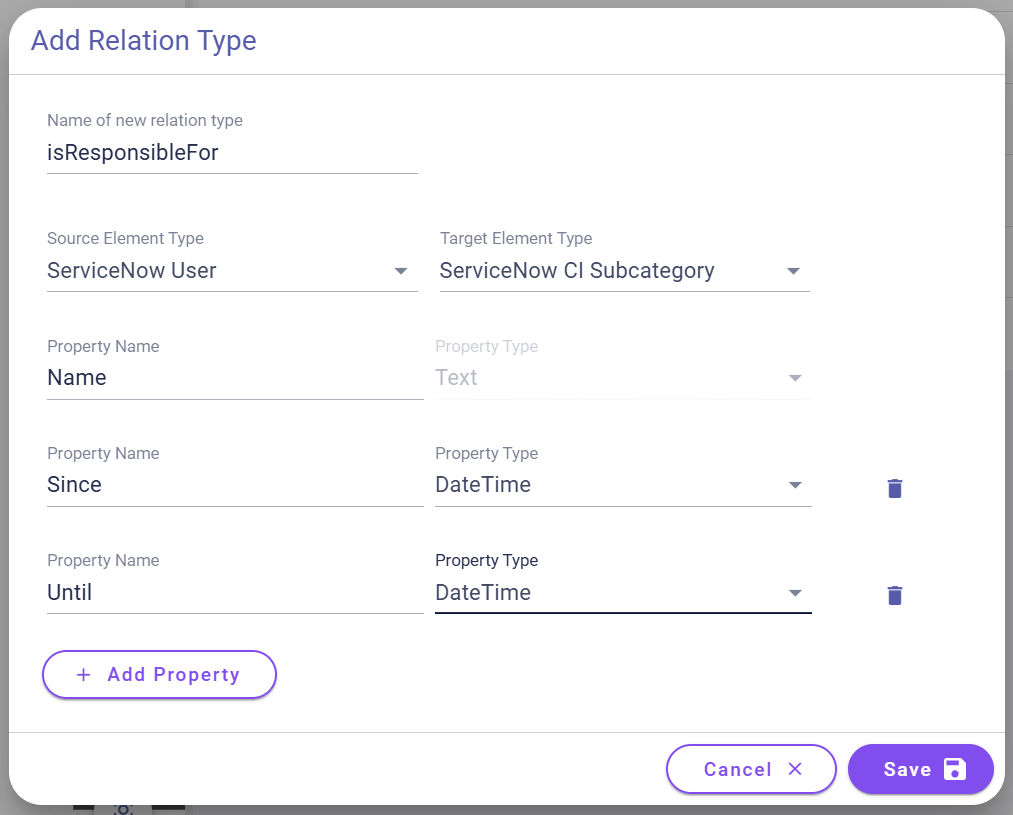
New relation types can be created by clicking the “+” icon next to the tree browser on the left panel and selecting Add Relation Type.
Within the Add Relation Type dialog, perform the following steps:
- Provide a name for the new relation type.
- Select a
Source Asset TypeandTarget Asset Typefor the new relation type. - Relation types must at least have one property – the
Property NamewithTextasProperty Type. - Via
+ Add Property, further properties can be added to the new relation type. - Clicking on
Savestores the new relation type and adds it to the data schema whileCancelwould discard any changes made.
Adding Properties
It is possible to manually add new properties for an asset or relation type by selecting the specific type in the visual representation and clicking on the+ Add Property button in the properties area shown on the right panel.
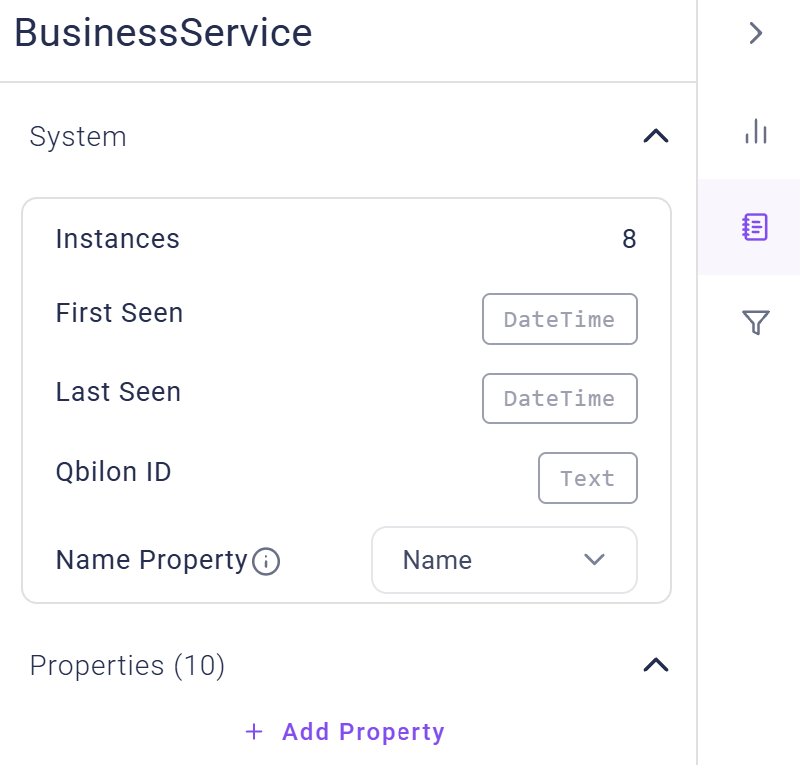
+ Add Property button is located at the beginning of the property area.
First, a name for the new property name has to be chosen. Afterwards, the property’s type can be selected:
Number(float value) orList<Number>,Text(strings) orList<Text>,Boolean(true/false values) orList<Boolean>andDateTime(strings) orList<DateTime>.- Lists allow to store multiple property instances, e.g. [14.5, 1, 777] as a
List<Number>.
 icon saves the new property. To delete a property, just press the
 icon next to it.